Home AboutSave Your ToothImplants
InsuranceFAQ Book a Consultation
Documented cases

Results

Every photograph here is of one of our own patients, taken before and after treatment.
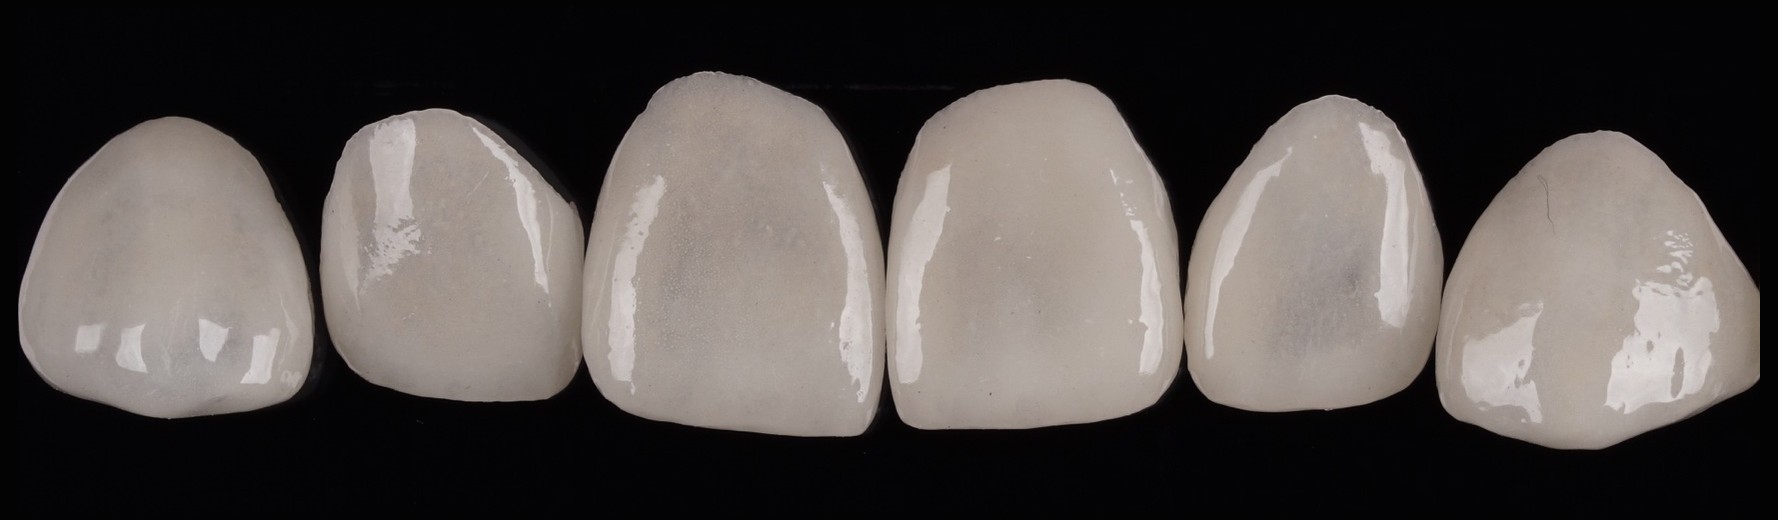
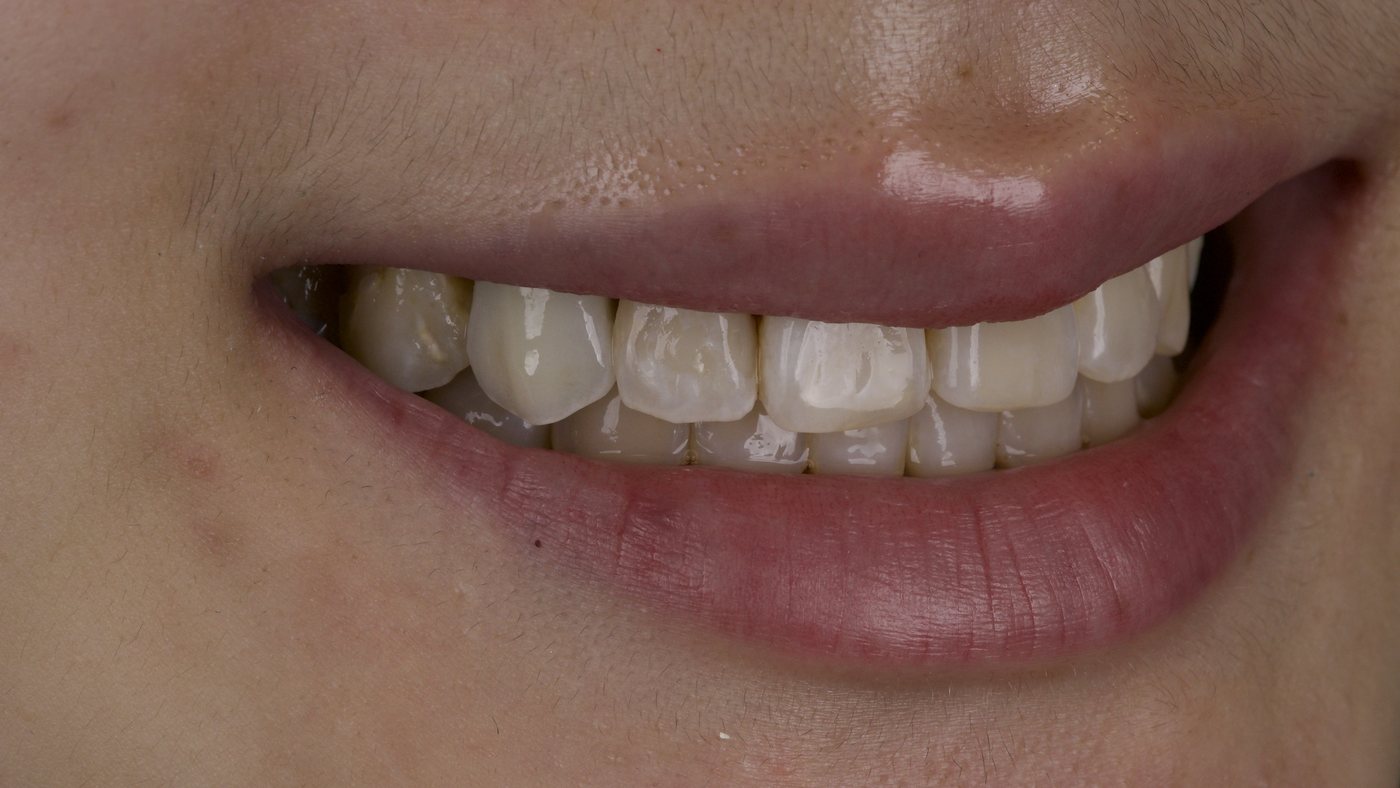
A row of porcelain veneers from the laboratory, before placement

Porcelain veneers as they arrive from the laboratory, before placement.
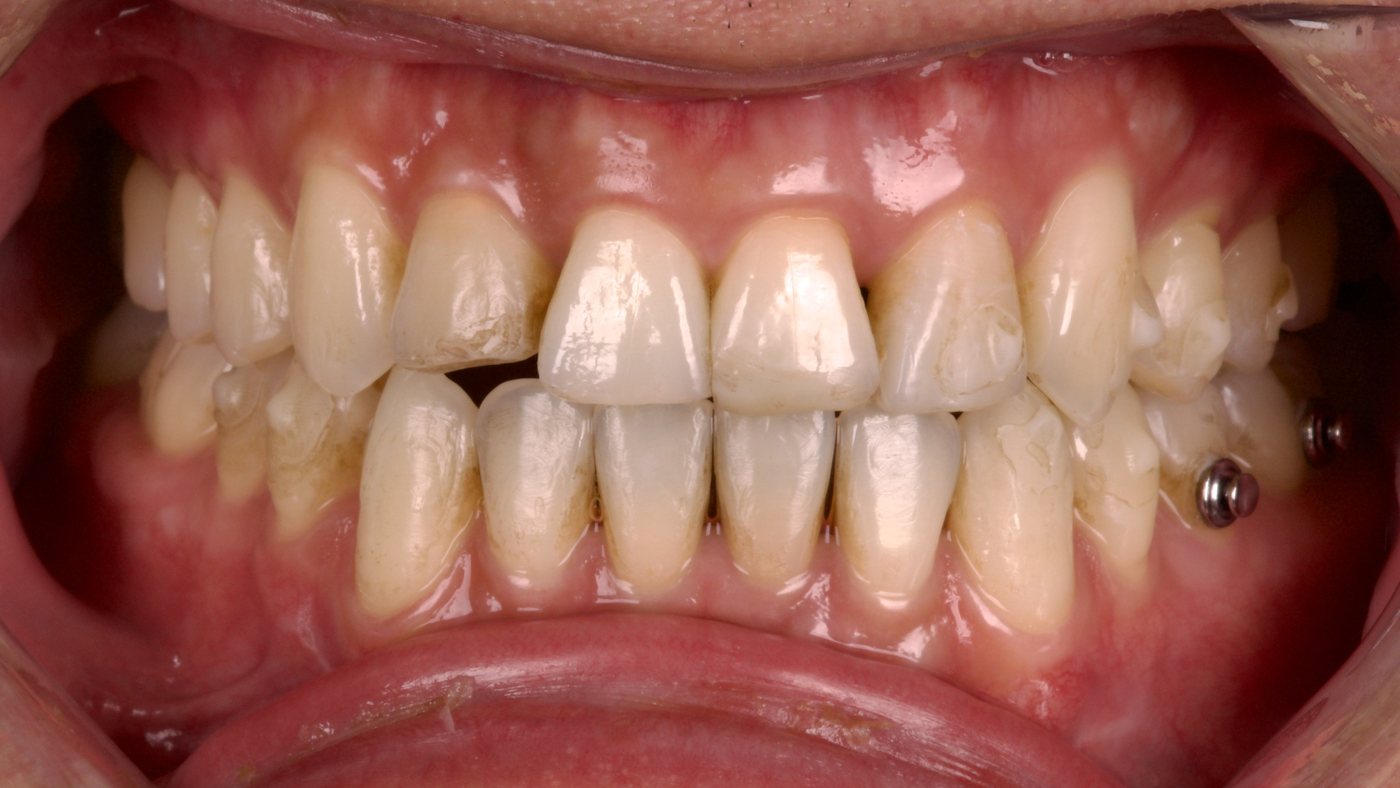
Aesthetic

Veneers, whitening, and gum treatment

BeforeBefore: worn, uneven front teeth
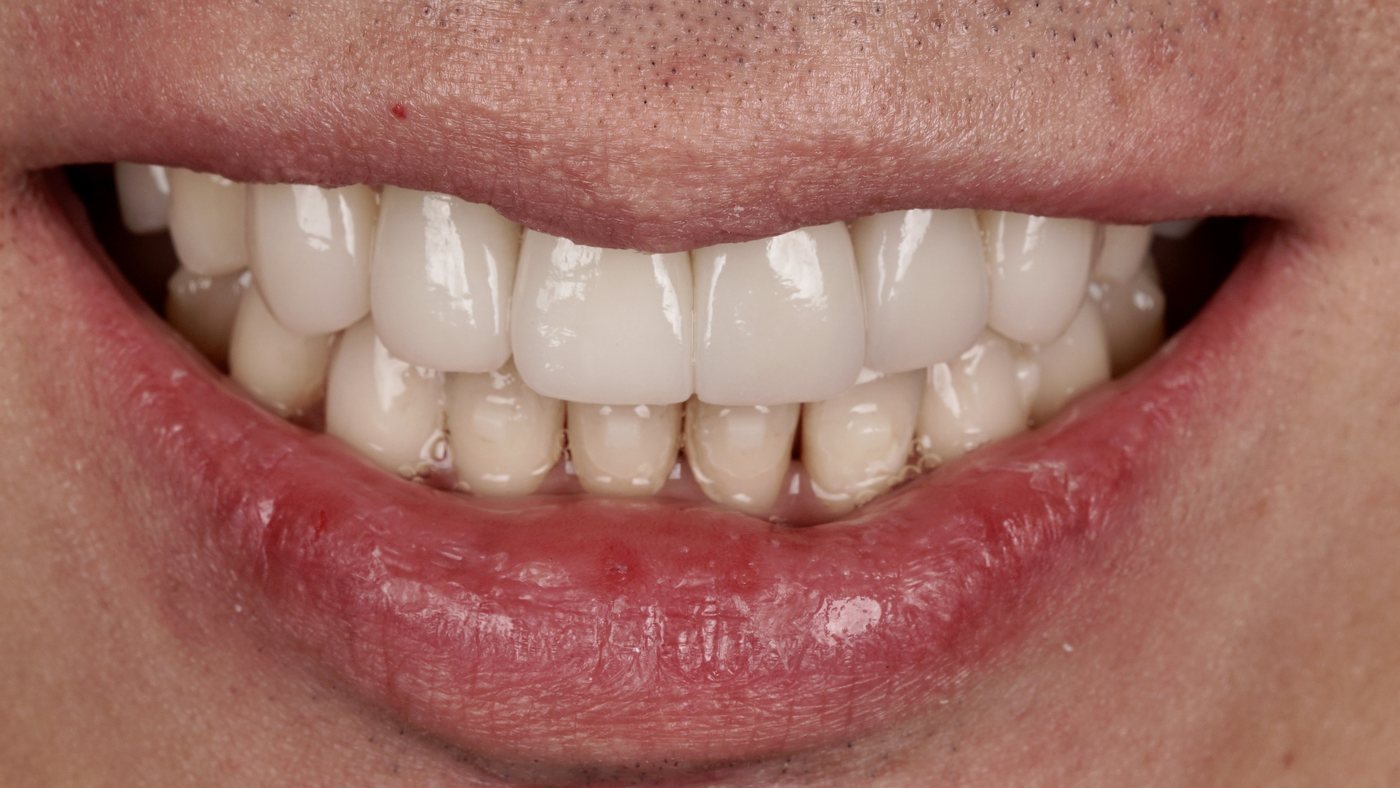
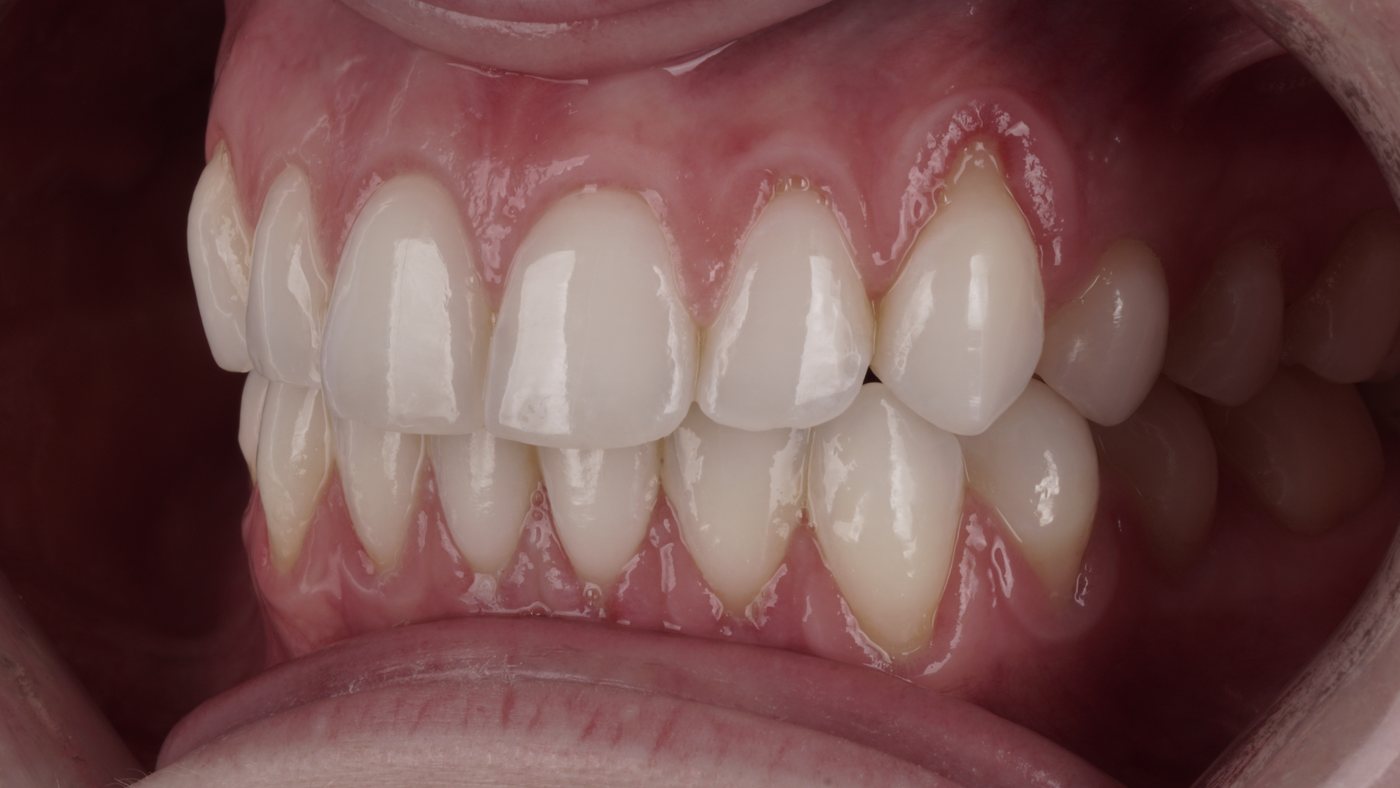
AfterAfter: porcelain veneers
Porcelain veneer makeoverWorn, uneven teeth rebuilt into a bright and natural smile. This patient found new confidence in his smile, and his family have been patients ever since.
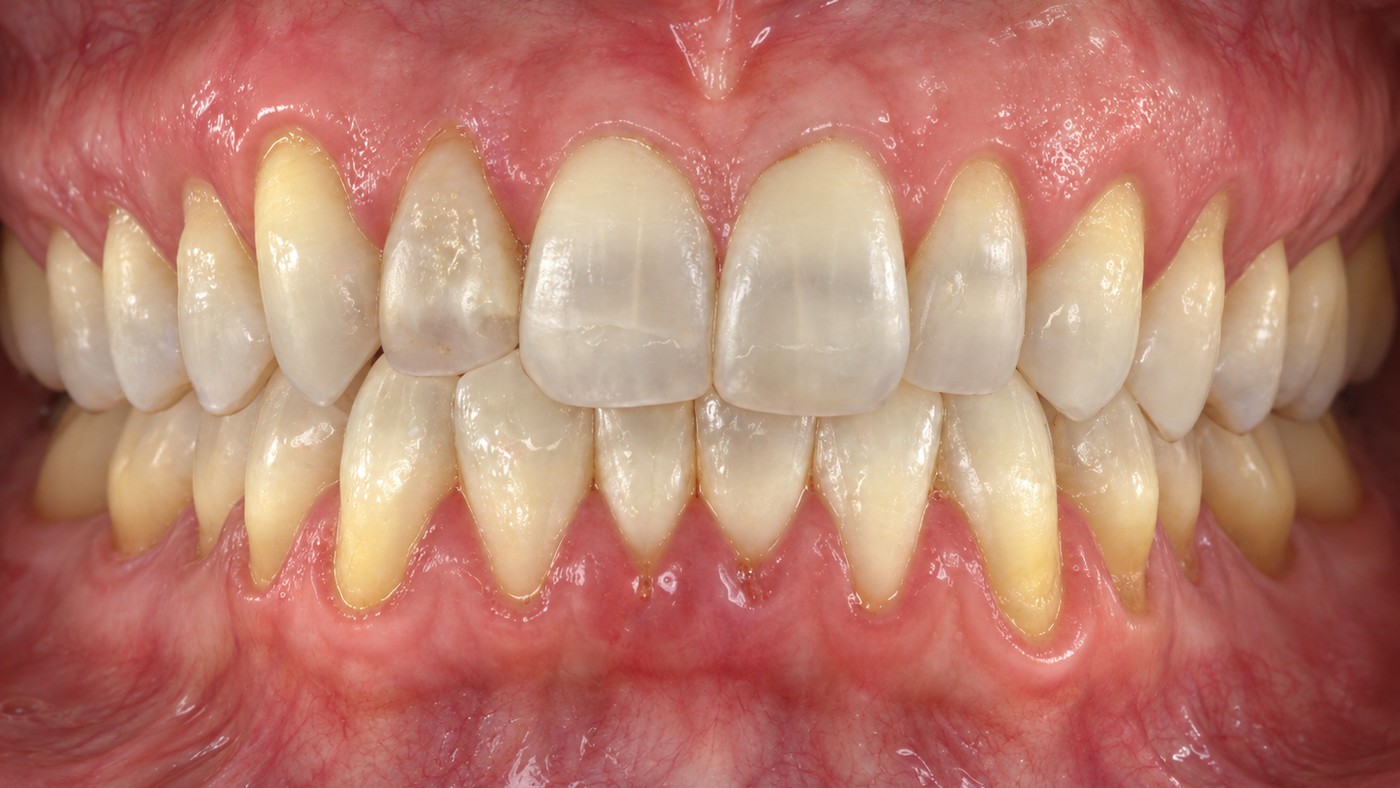
BeforeBefore: dull, uneven teeth with exposed roots
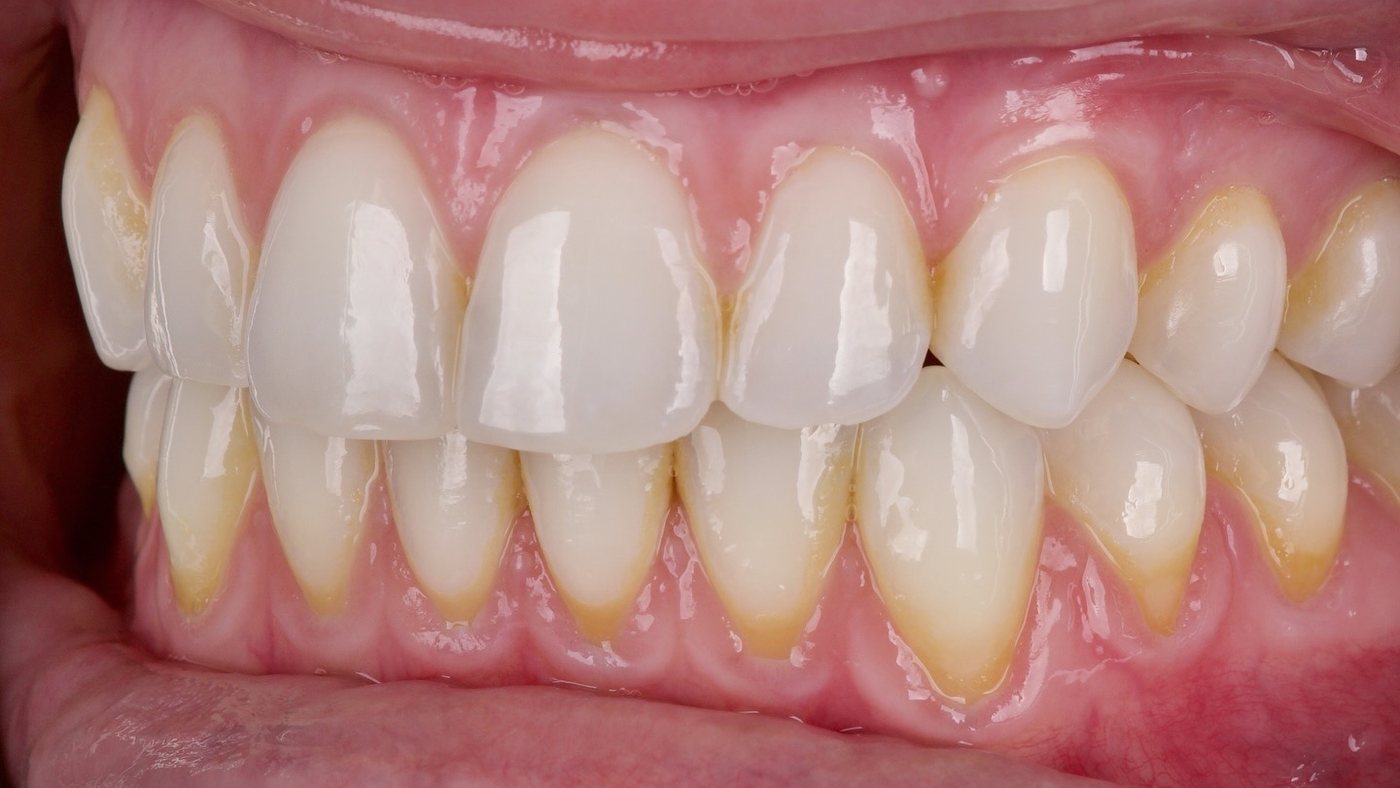
AfterAfter: porcelain veneers
Porcelain veneers, D.’s caseRestored with porcelain veneers over several visits.

“I felt in such good hands, so comfortable and confident in Dr. Peter’s work.” D., in her voice message 0:46
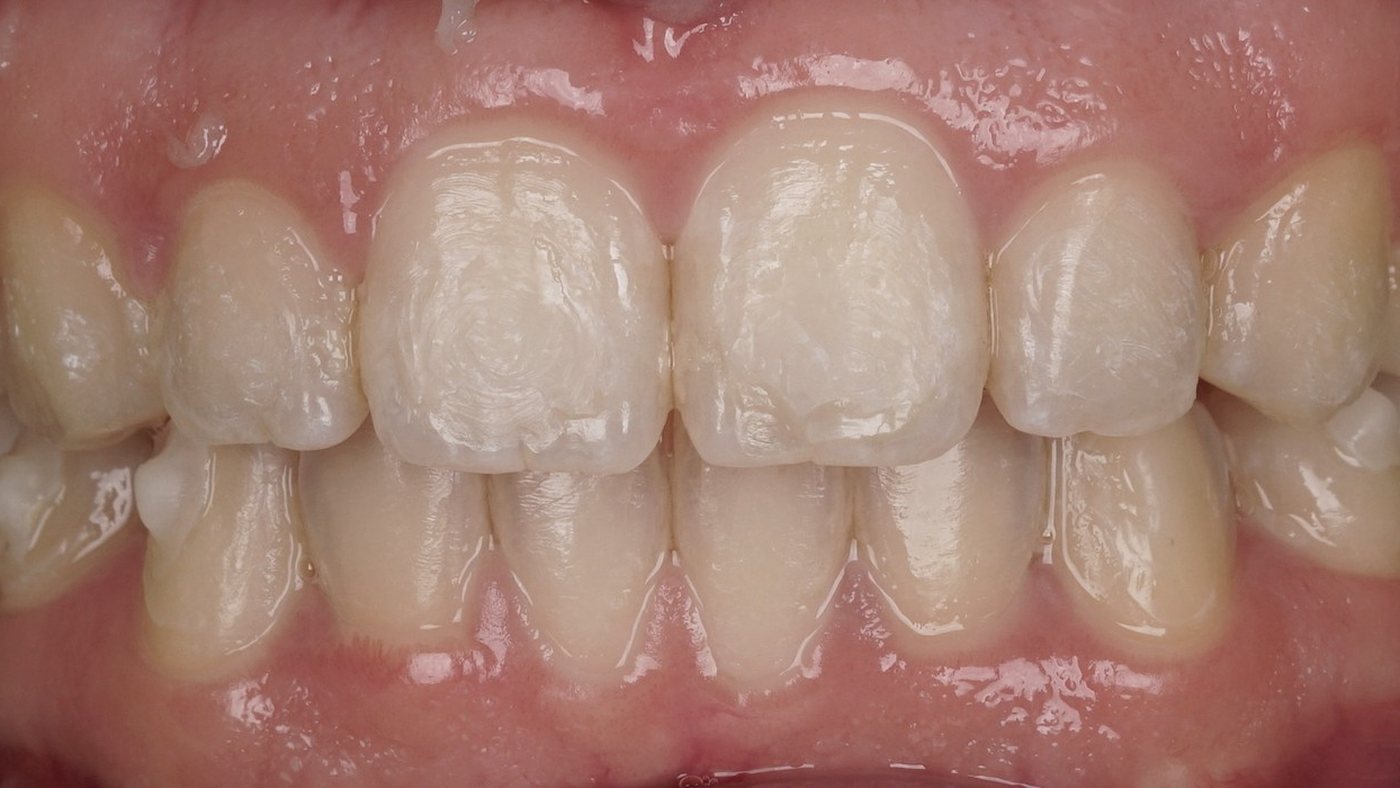
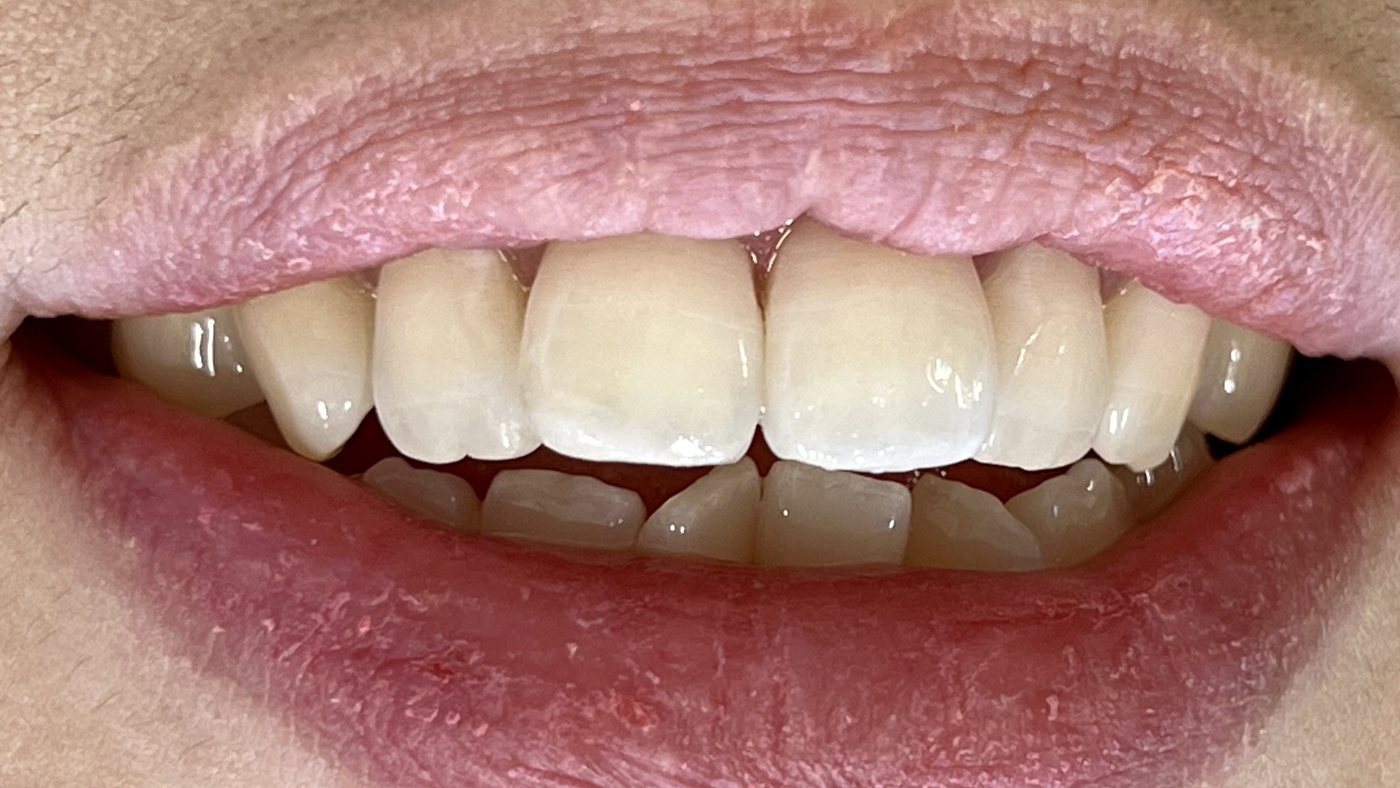
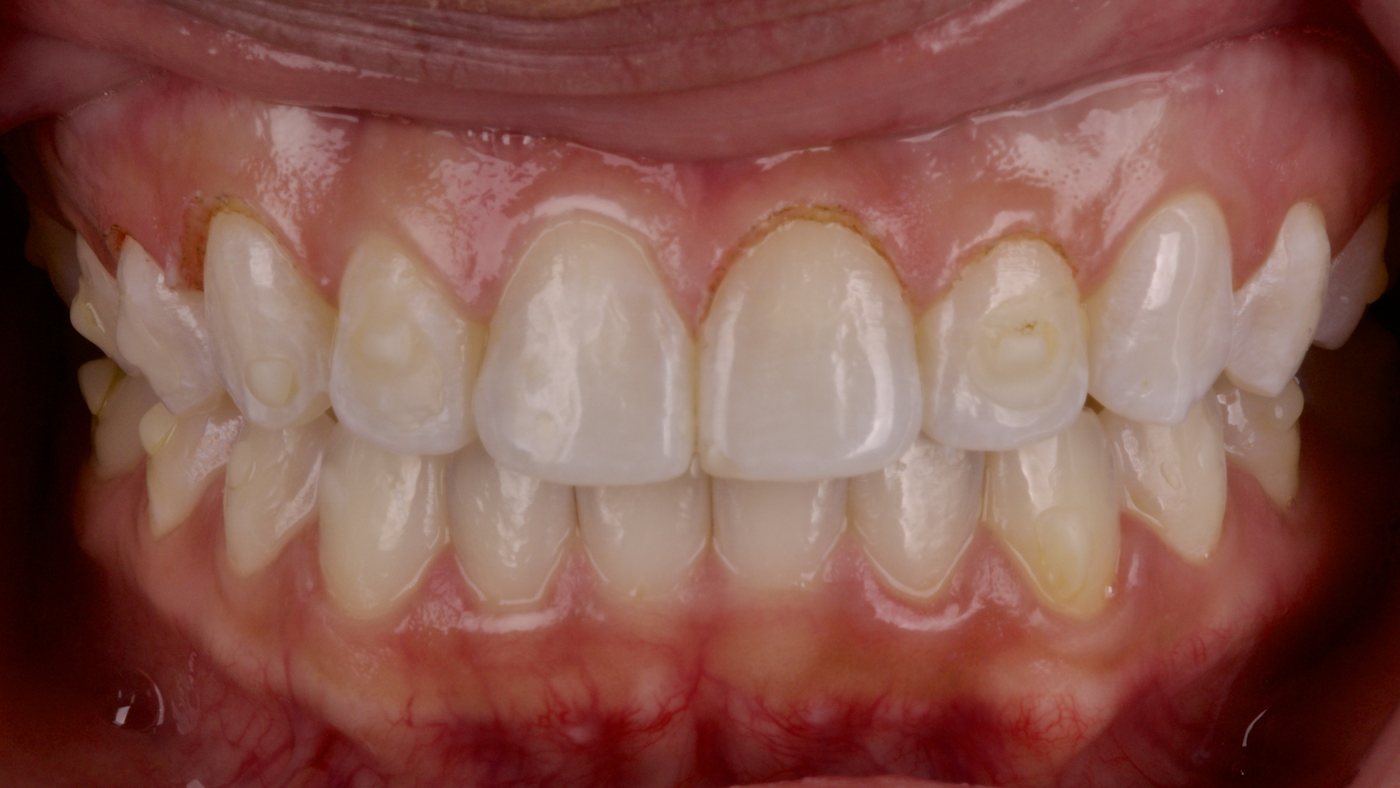
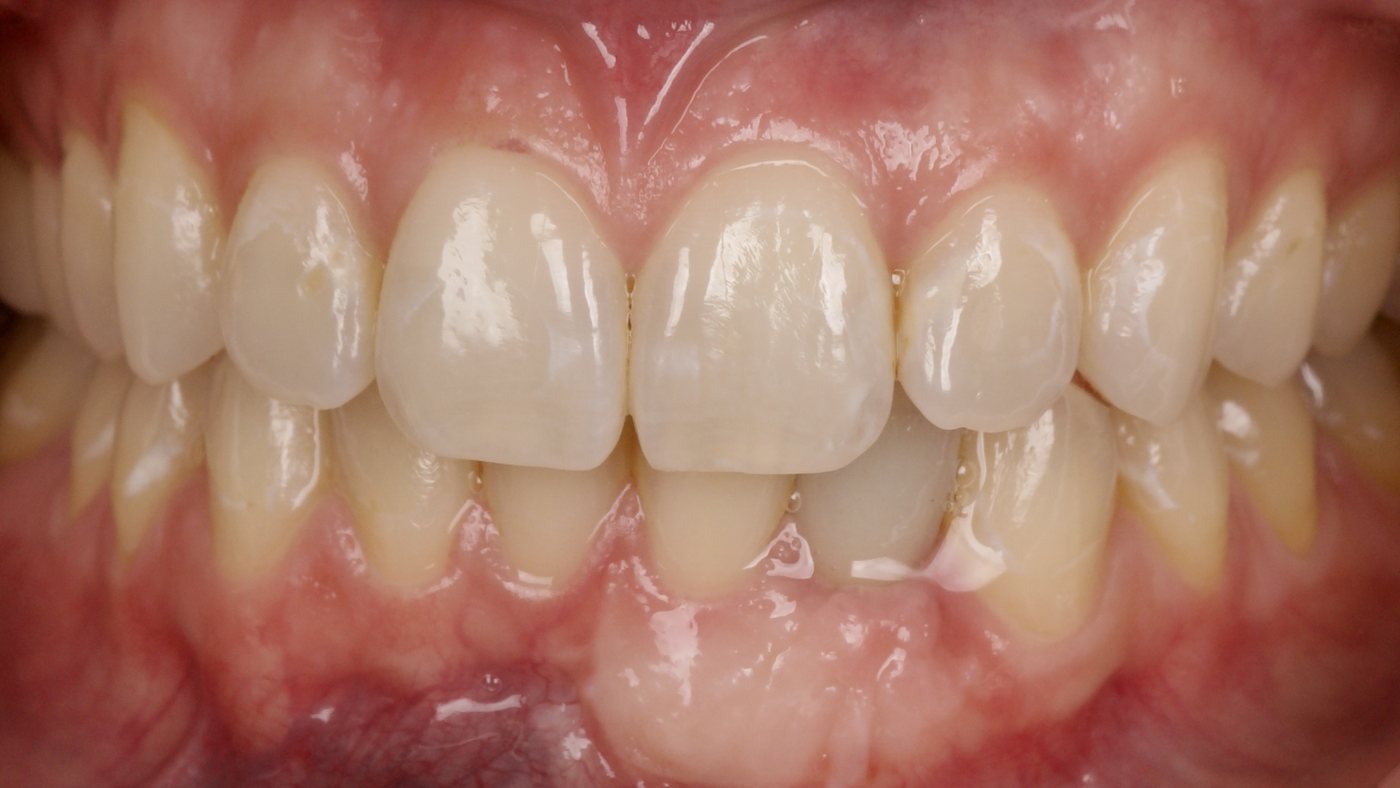
BeforeBefore: uneven, worn upper front teeth
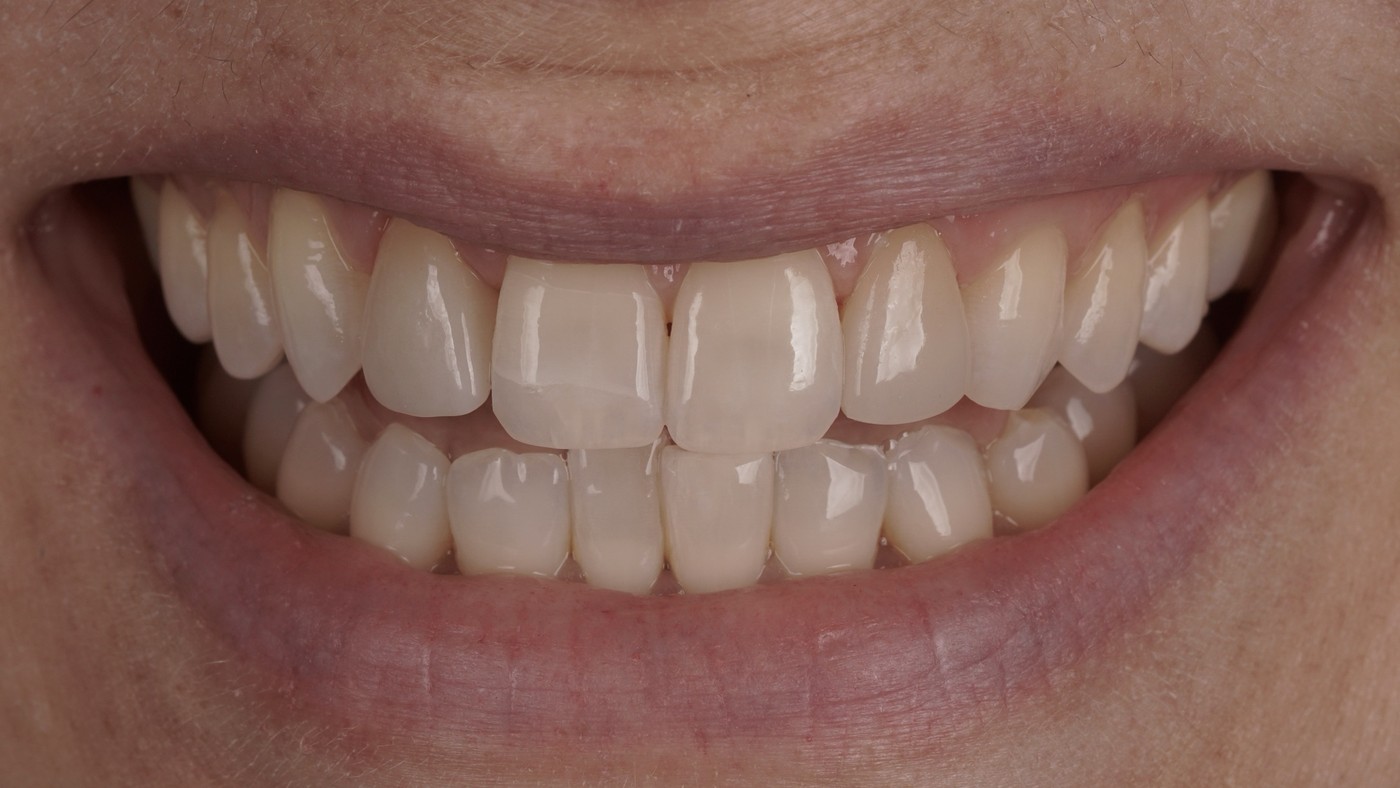
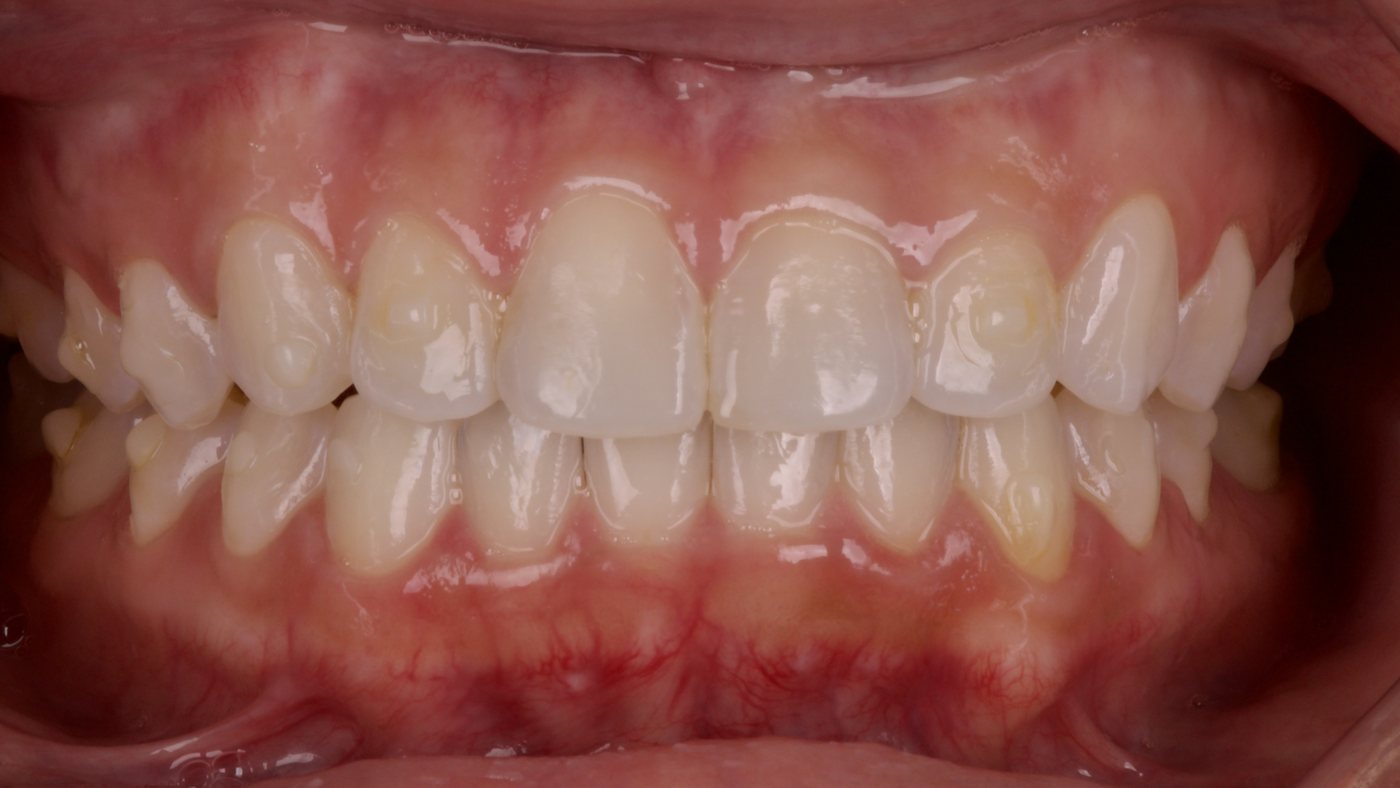
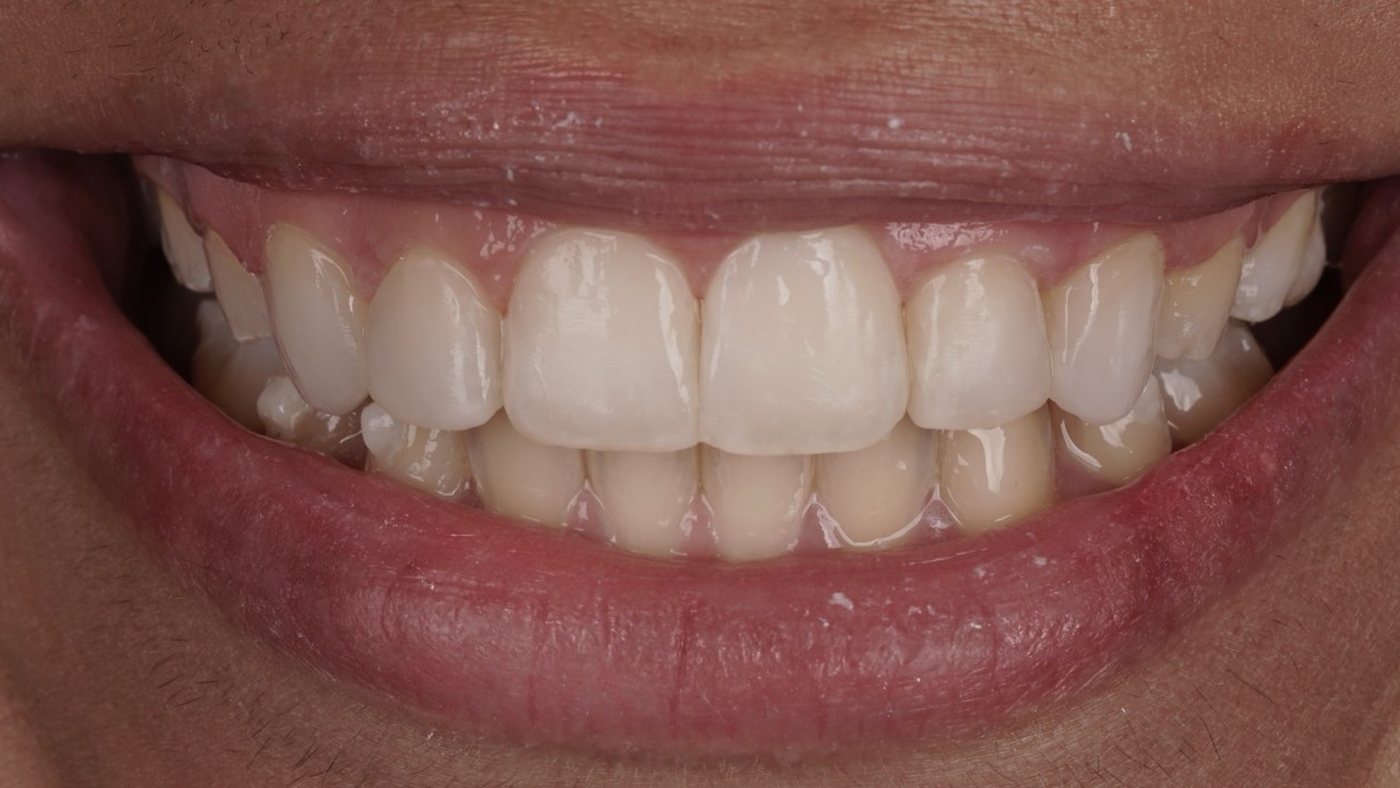
AfterAfter: chairside resin veneers across the upper arch
Chairside resin veneers, upper archA full upper arch rebuilt by hand in a single appointment, with no cutting of natural tooth structure.
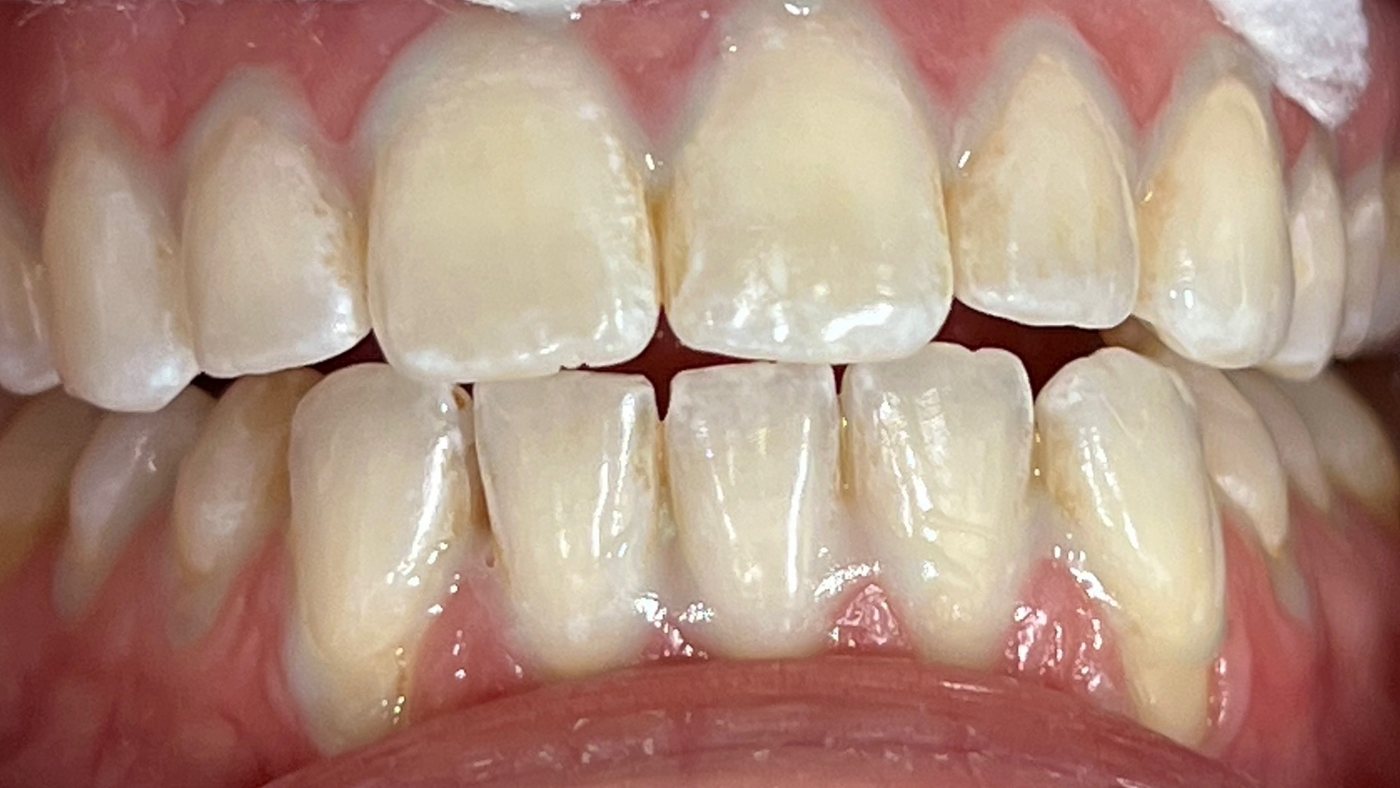
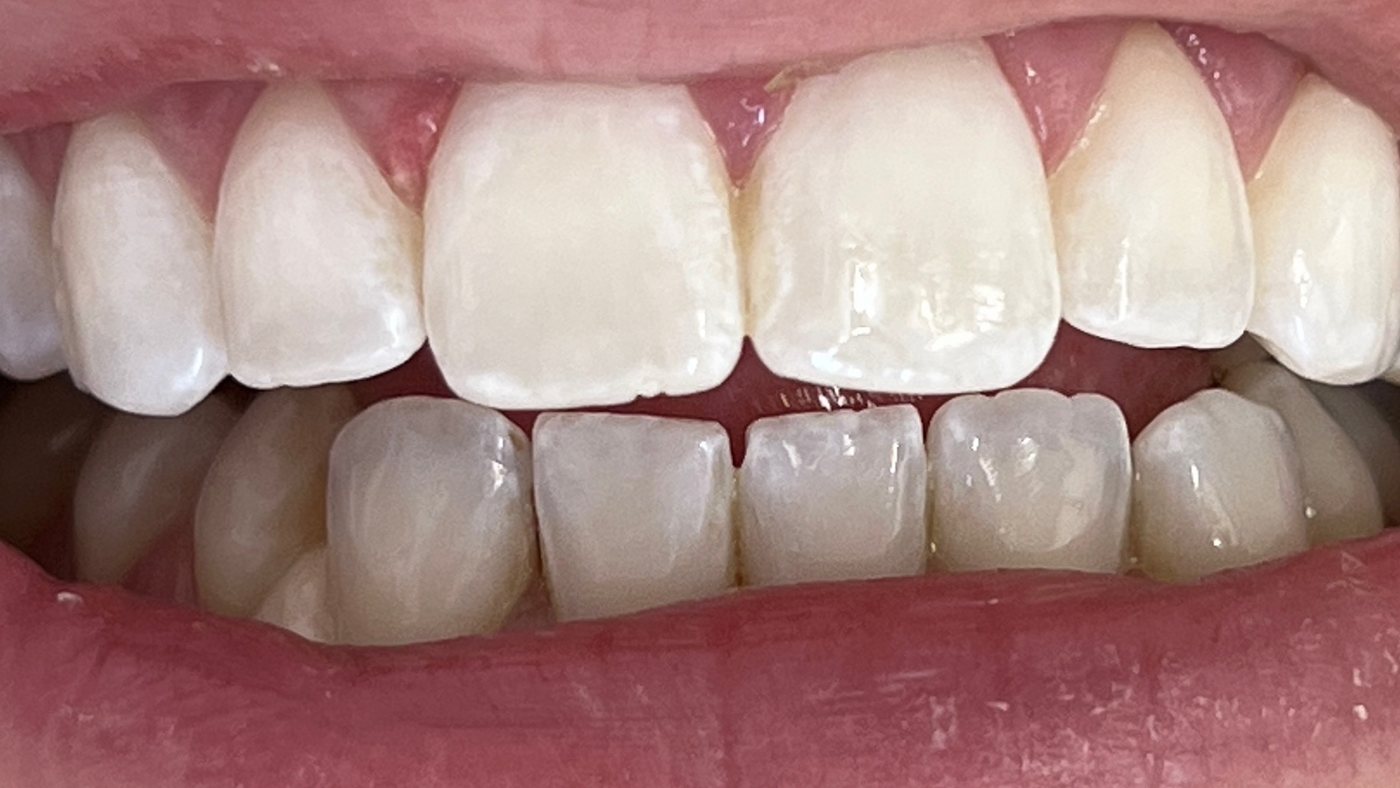
BeforeBefore: Teeth before and after professional whitening
AfterAfter: Teeth before and after professional whitening
Professional whiteningA pronounced shade change achieved with in-office whitening.
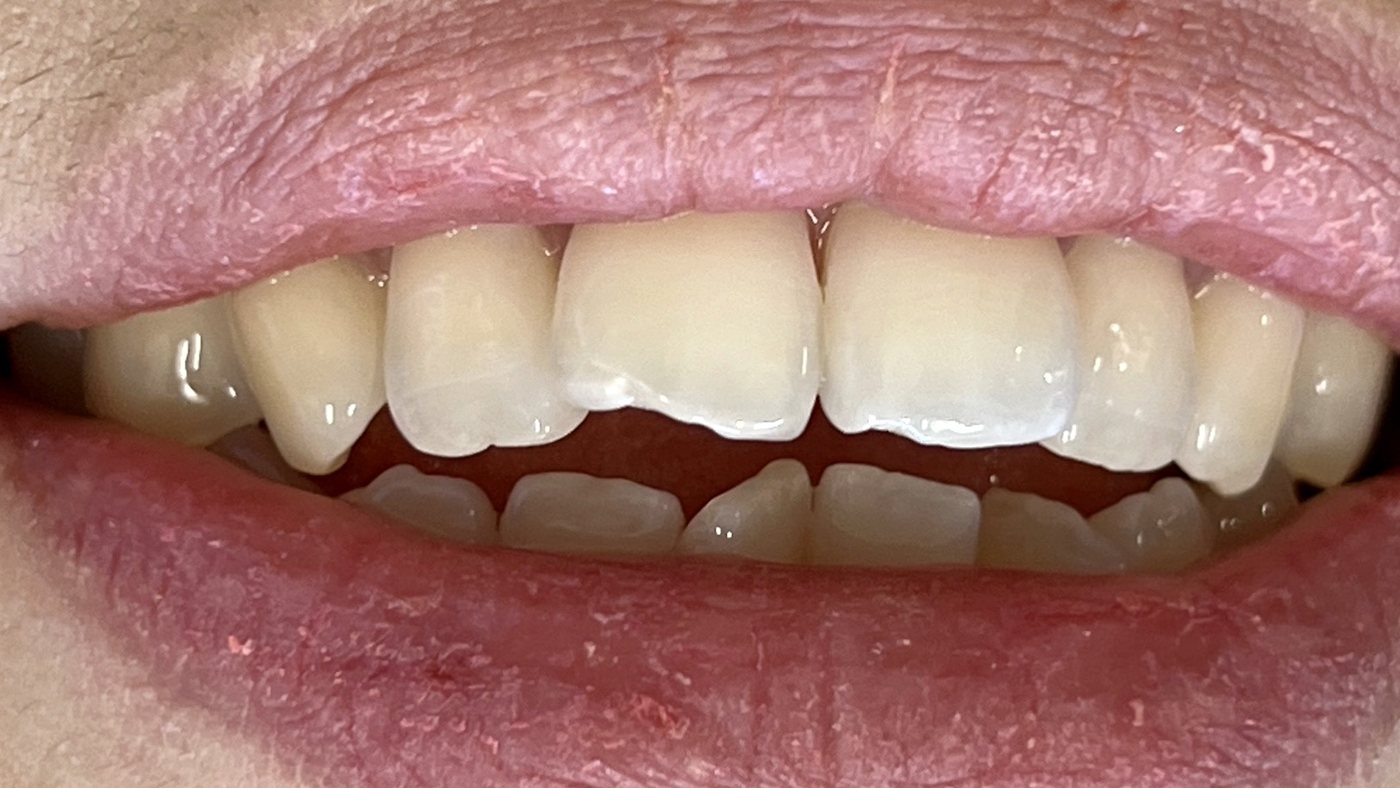
BeforeBefore: A chipped front tooth before and after chairside restoration
AfterAfter: A chipped front tooth before and after chairside restoration
Anterior chip restorationRepaired chairside in a single visit, with no anesthetic required.
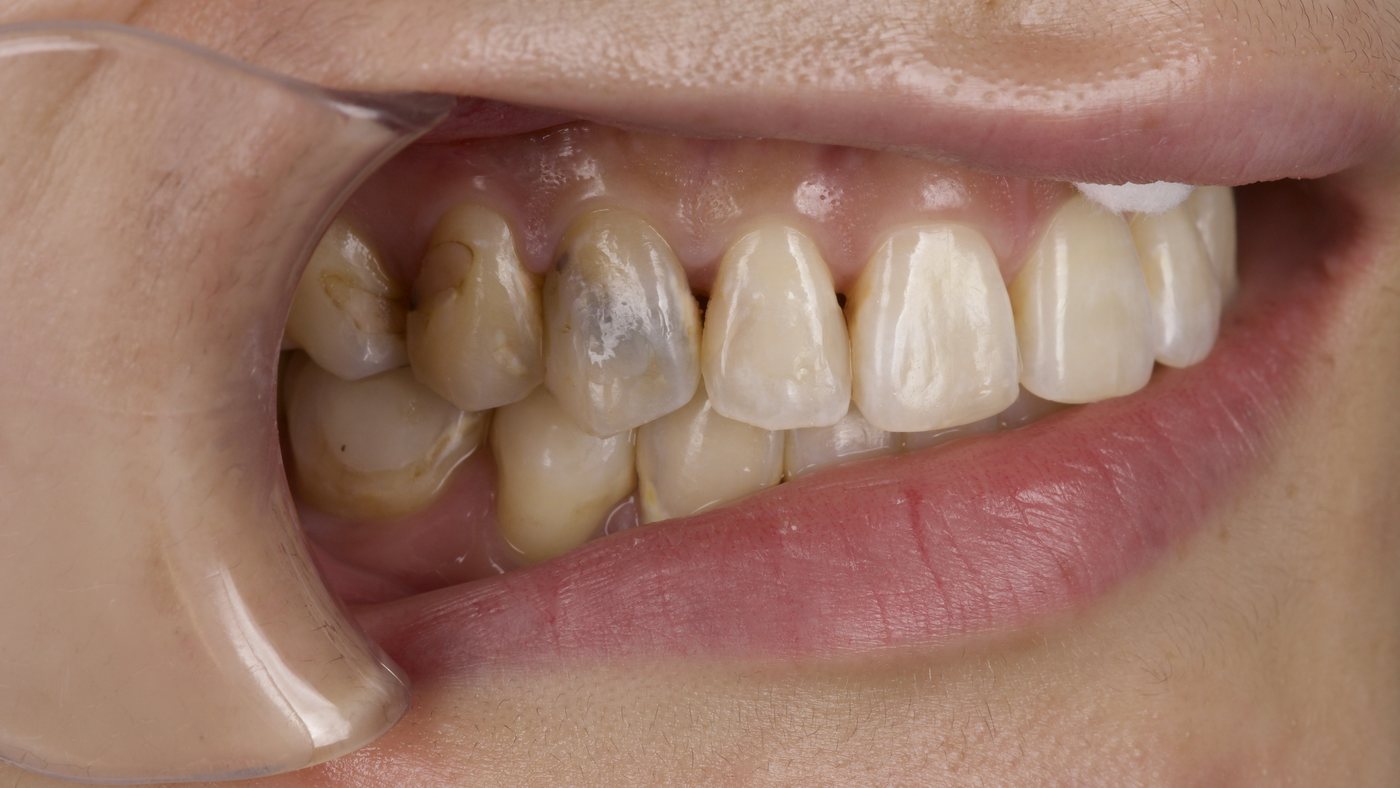
BeforeBefore: a discolored front tooth
AfterAfter: an aesthetic crown matched to the surrounding teeth
Aesthetic crown, discolored toothA dark front tooth restored to match the natural shade of the teeth around it.
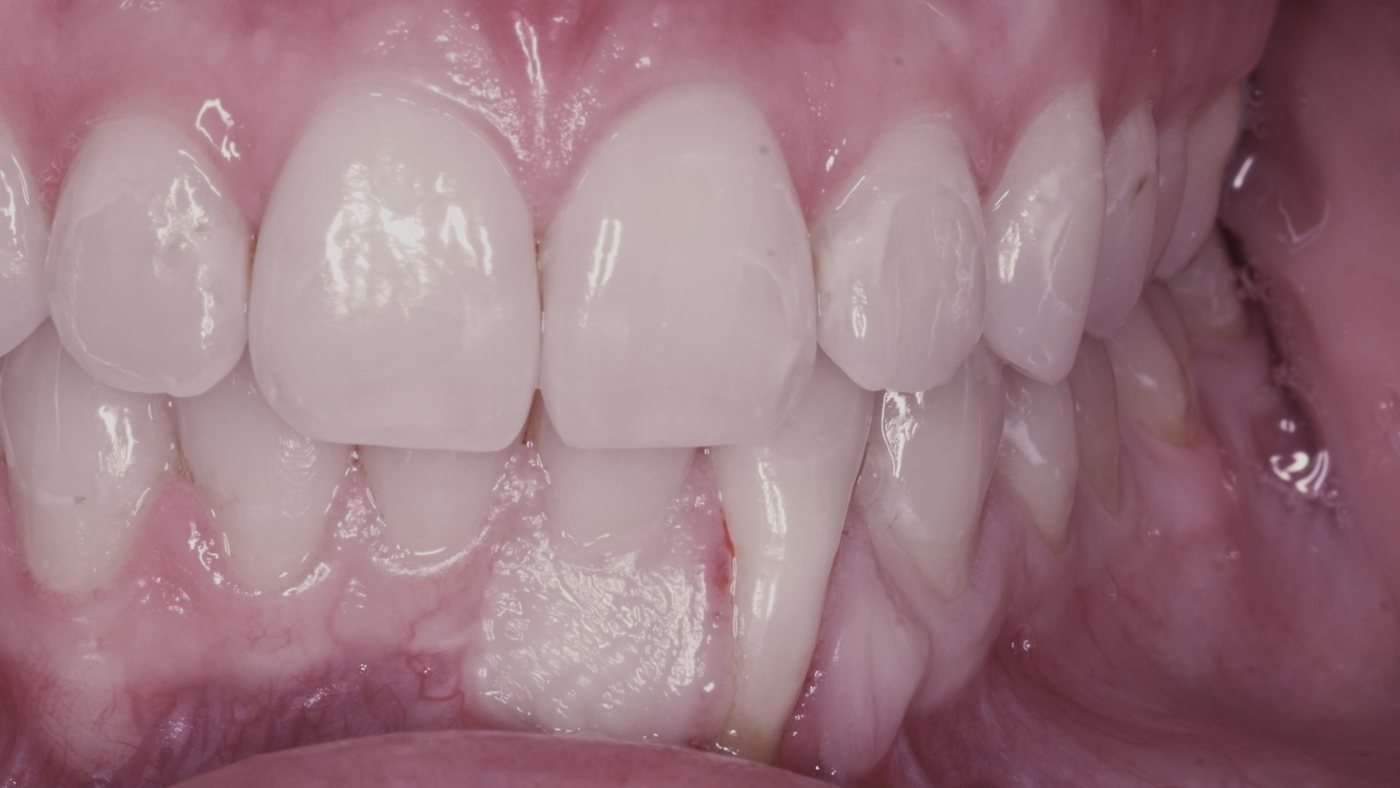
BeforeBefore: gum recession exposing the tooth root
AfterAfter: a gum graft covering the root
Gum graft for recessionReceded tissue restored, protecting the exposed root and evening out the gum line.
BeforeBefore: uneven gum tissue
AfterAfter: gum tissue reshaped with a laser
Laser gingivectomyGum reshaping for a more balanced smile, photographed minutes after treatment. Note the absence of bleeding. That is a consequence of the laser technique, and it is the reason healing is so quick.
Surgical

Implants and extractions

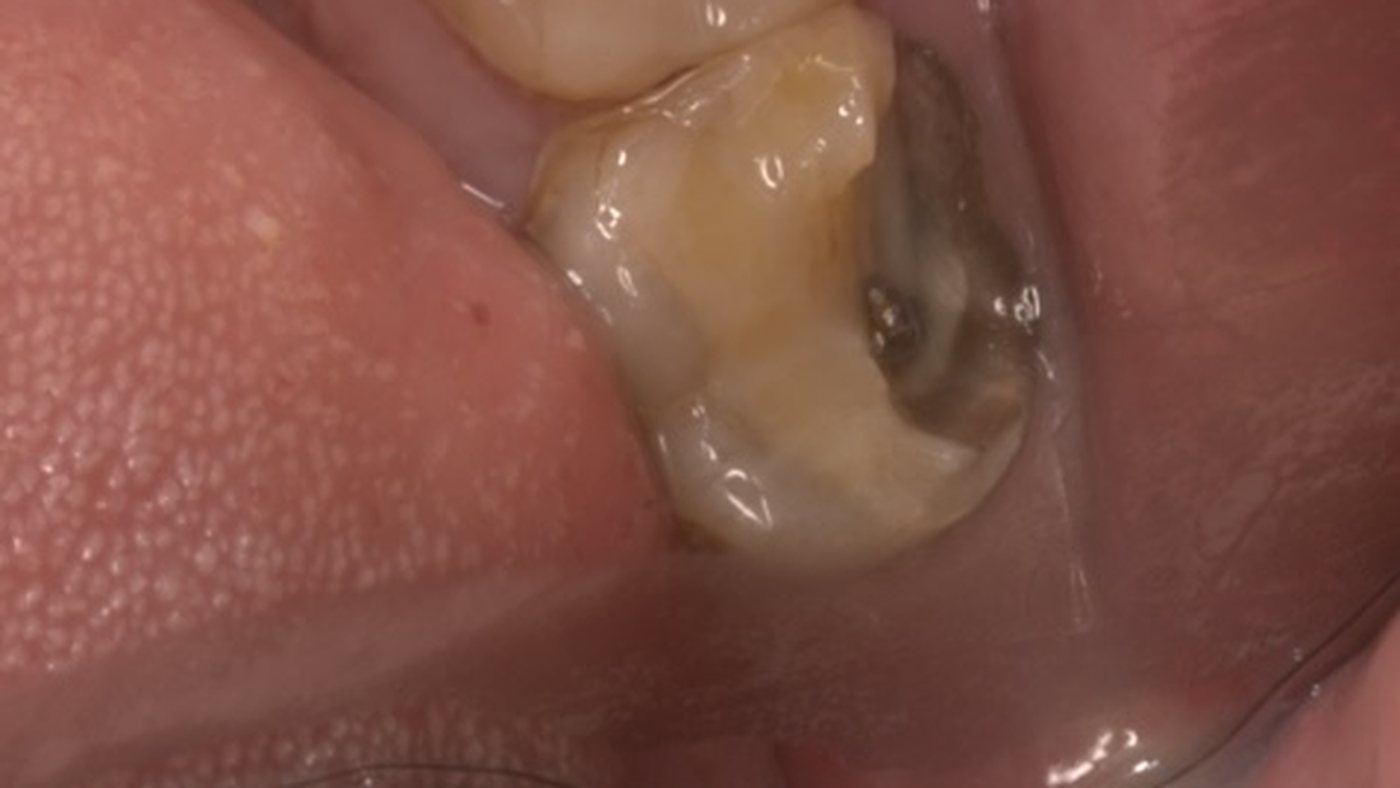
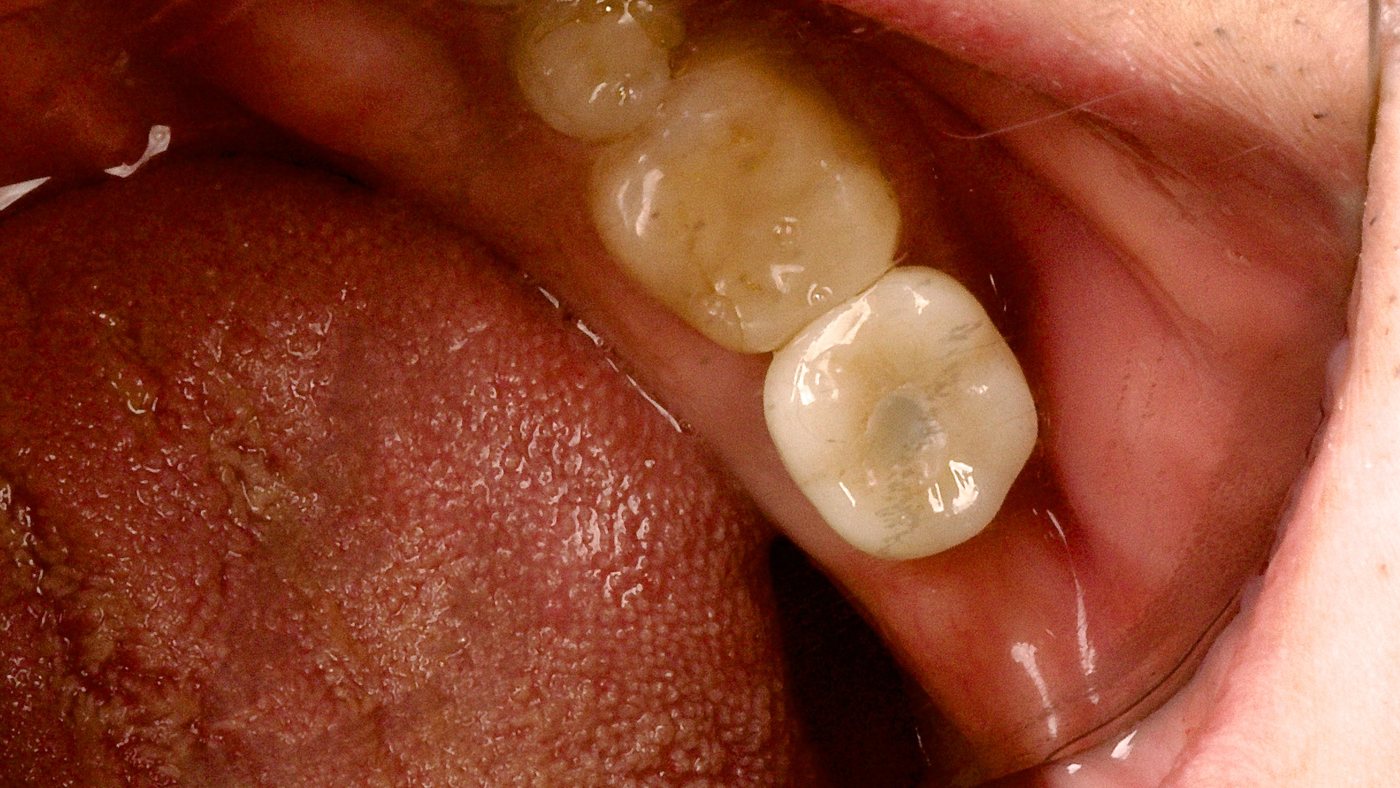
BeforeBefore: a broken-down back molar
AfterAfter: a dental implant with a custom crown
Posterior implant restorationA broken-down back molar replaced with an implant and a custom crown. Chewing function was fully restored.
BeforeBefore: a missing lower front tooth
AfterAfter: an implant restoration matched to the neighboring teeth
Lower anterior implantA lower front tooth replaced with an implant restoration, shaded and shaped to disappear among its neighbors.
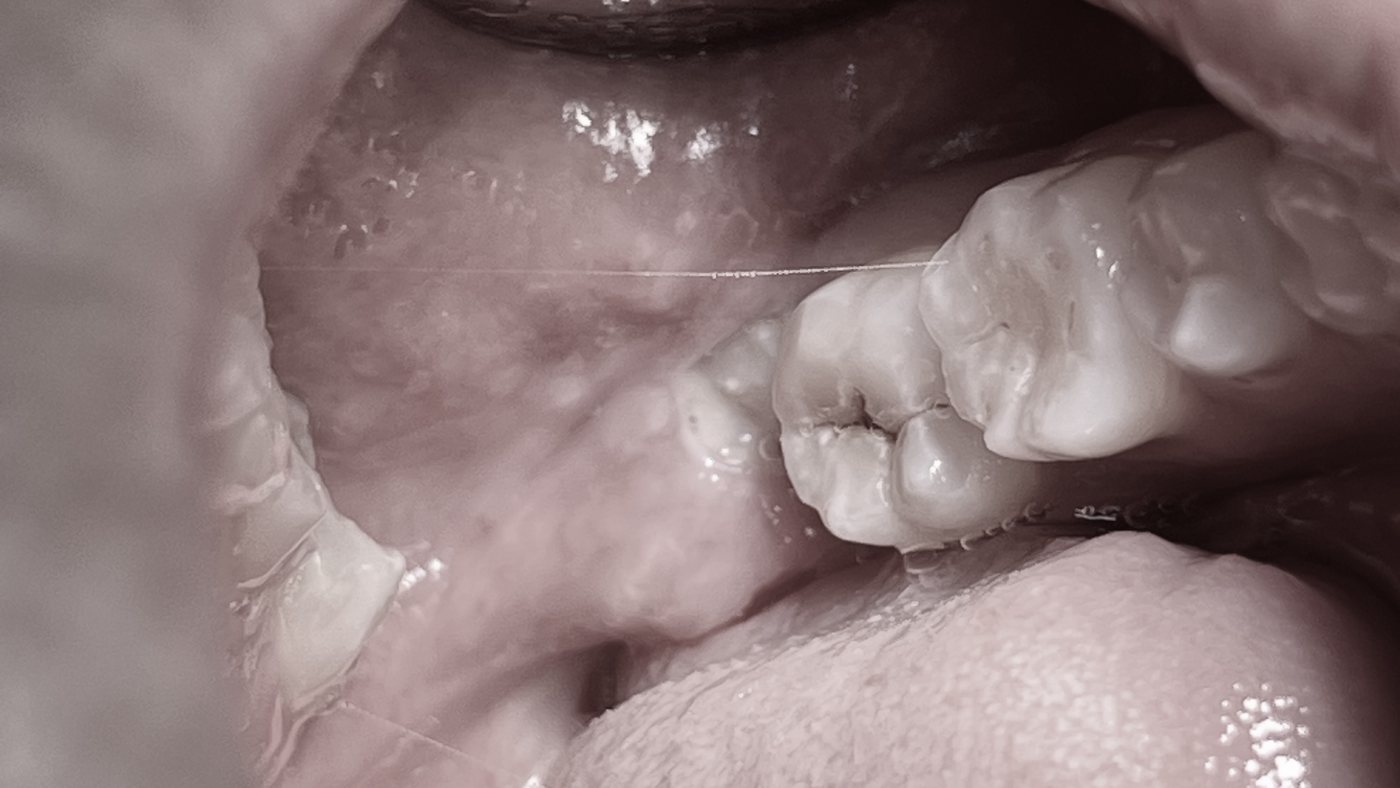
BeforeBefore: an impacted wisdom tooth
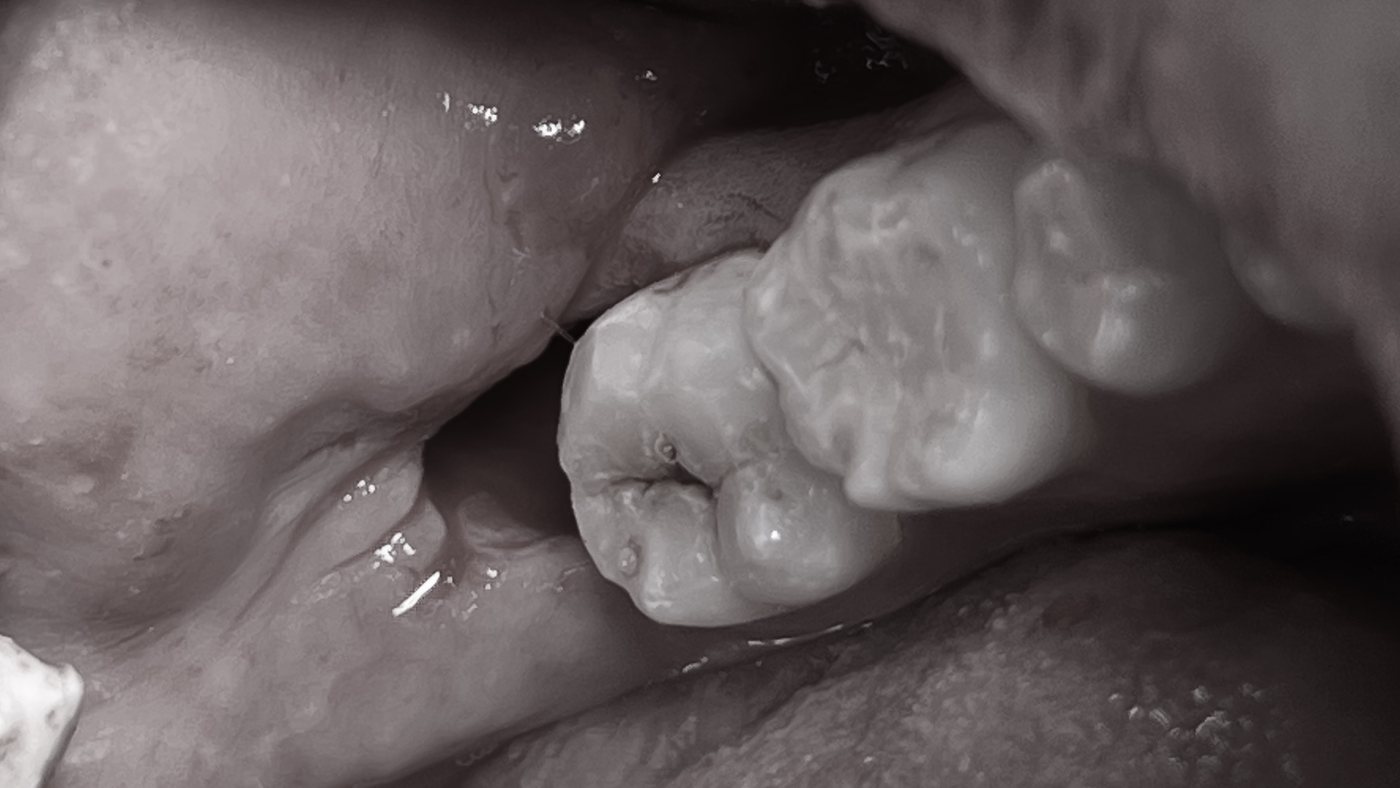
AfterAfter: the extraction site, with no cutting of gum or bone
Third molar extractionNo cutting of gum or bone tissue was required. That is the reason recovery is quick and comfortable.
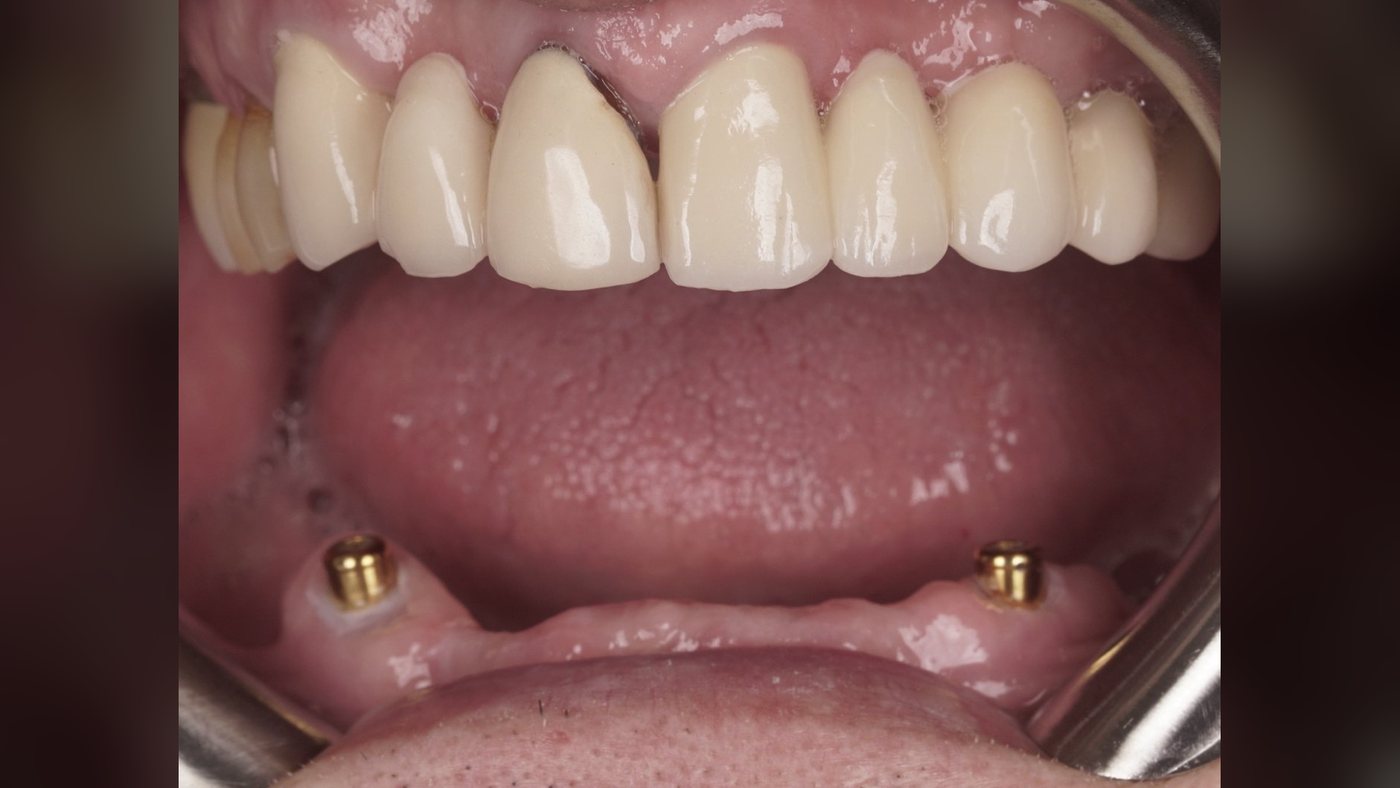
Implants placedTwo dental implants placed in the lower jaw
Overdenture fittedThe finished denture fitted onto the implants
Implant overdenture, lower archThe lower jaw had no remaining teeth. Two implants were placed to carry a full lower denture, which now clips onto them and holds firm while eating and speaking. It still lifts out for cleaning.
Technique
A dental implant positioned precisely within the jaw
Precision of placementPositioning an implant exactly where the anatomy dictates is what makes it comfortable, and what helps it last.
Technology
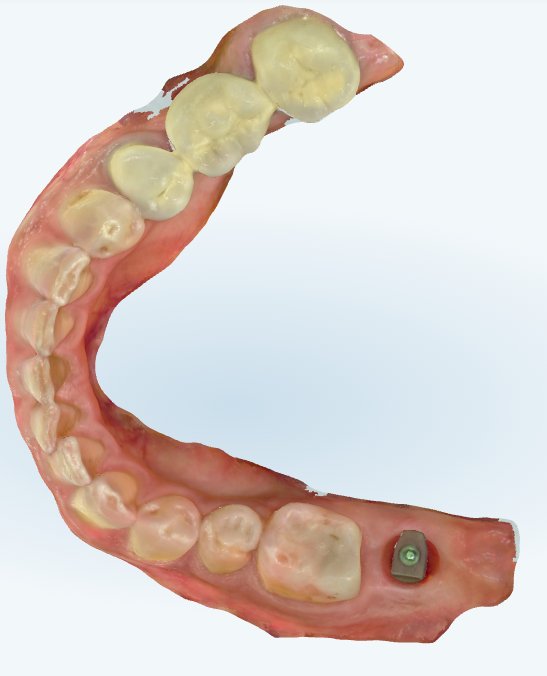
A digital scan of the teeth, used in place of a conventional impression
Digital implant scanningDigital records rather than conventional impressions, for a better-fitting final restoration.

Wondering about your own case?

Request a call and we will tell you what is realistically achievable for you, and what it would cost.